Summary
The Patron Expiration Date can be changed on a list of patron records as opposed to individually if applicable.
This guide will provide the steps required to change the Expiration Date on a list of patrons.
Change the Expiration Date
- Search for a list of applicable patrons.
- From the patron Function menu, click on Set Expiration Dates.
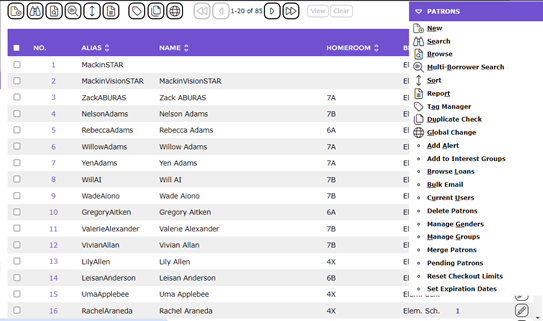
- The Set expiration dates popup screen will display.
- Enter the data directly into the field provided or click the Calendar icon and click on the applicable date elements.
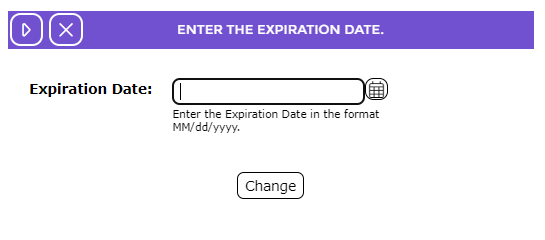
- Click the Change button.
- The screen will refresh and confirm the number of patrons, to which the new expiration date will apply, and new expiration date.
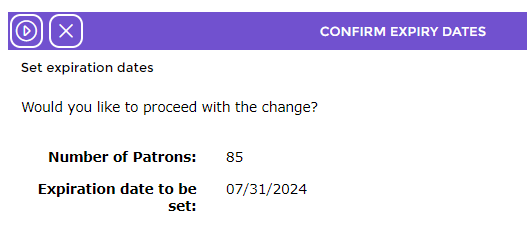
- If the date is not correct, click the Cancel
 button and enter the required expiration date as explained in Steps 2-5.
- If all details are correct, click the Confirm
 button.
- The Set expiration date results screen will display.
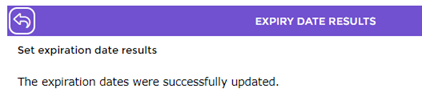
- Click the Return
 button to return to the List screen.
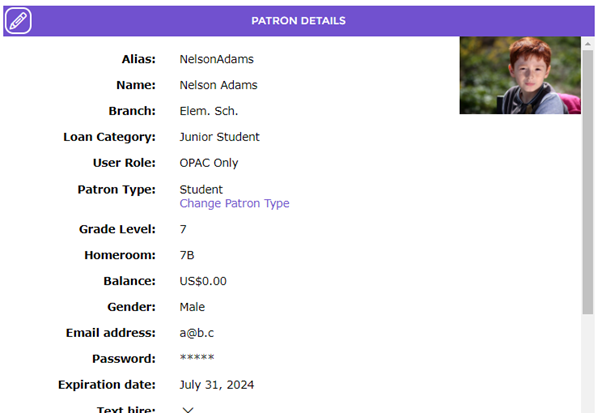
To check that the Expiration date has changed access the Detail screen of a selection of the Patrons and check the value in the Expiration date field.
Was this article helpful?
That’s Great!
Thank you for your feedback
Sorry! We couldn't be helpful
Thank you for your feedback
Feedback sent
We appreciate your effort and will try to fix the article