Summary
The option to search other libraries using MackinVision systems can be included in the library Home screen. To provide access to search any of those libraries, you will need to set each of them up as a search source. The applicable User Permission options must also be included in the User Role tied to patrons who are to be permitted to search those other libraries’ databases.
This guide will provide the steps required to set up another library, which used a MackinVision product, as a Search Source.
Set up Another library as a Search Source
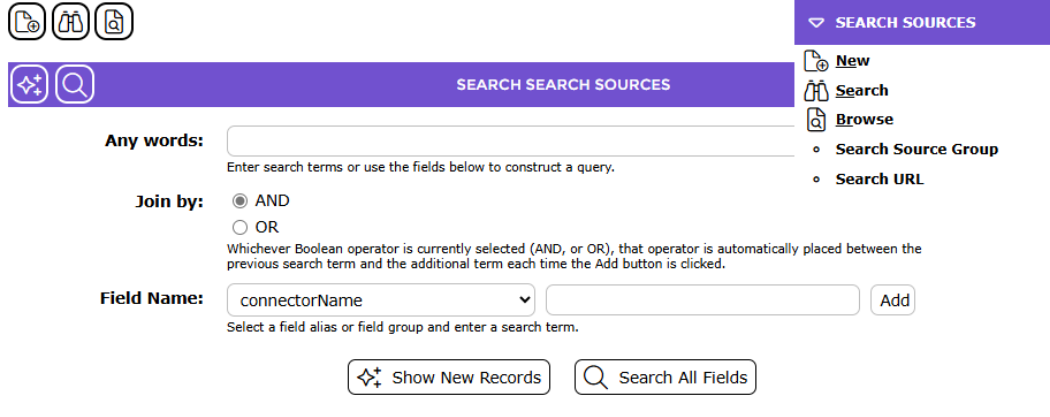
1. Navigate to System > Search Sources.
2. Click on the New icon, or select New from the Function menu, or type ne.



3. The Add a New Search Source popup screen will display.
4. Enter the name of the library to be established as an alternate search provider in the Name field. The example uses a fictitious library called Stow.
5. Click on the down arrow at the end of the Connector field and click on Other MackinVision Libraries.


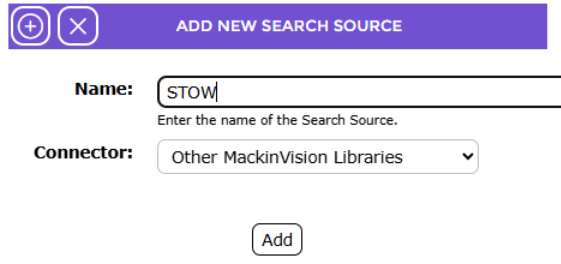
6. Click on the Add icon or Add button.
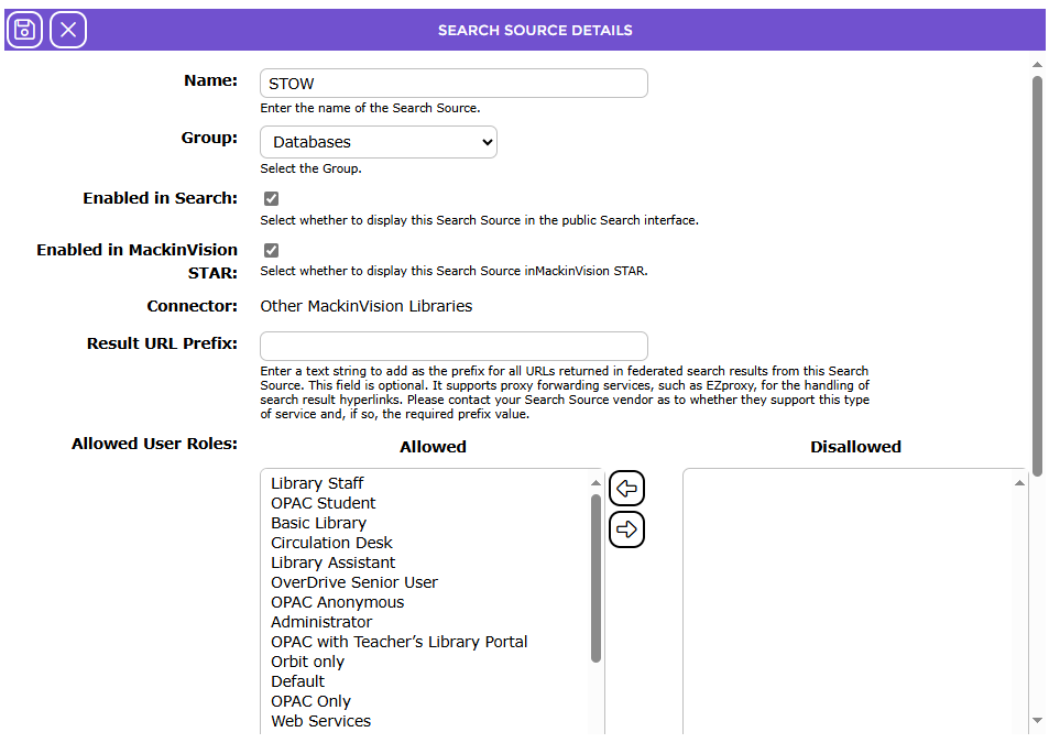
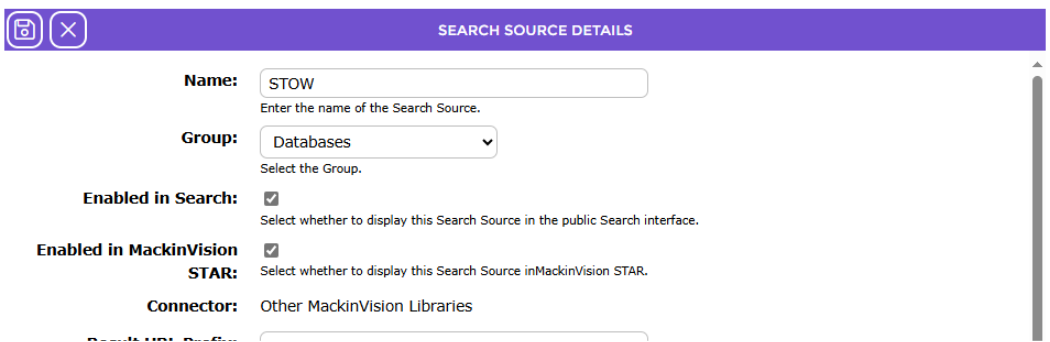
7. The Search Sources > Add screen will display.
8. The name entered, and the connector selected in the previous popup screen will display in their corresponding fields.
9. A default selection displays in the Group field.


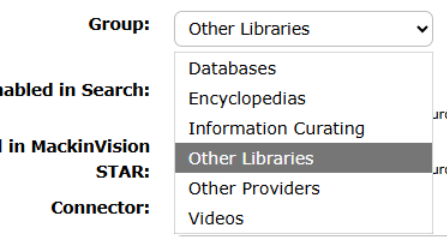
10. If you want to display the search source with other MackinVision libraries, click on the down arrow and select Other Libraries for example.
11. The checkbox next to Enabled in Search is ticked by default. If you leave the check in the checkbox, the source will be automatically selected as a search option in the Search interface.

12. In the URL field, enter the URL of the other branch. It should take the format of http://server:port/product_type (example only - http://rockstar:8080/stow).

13. If applicable, enter the library system’s corporation Alias in the Corporation Alias field.
14. If applicable, enter the client alias in the Client Alias field.
15. If applicable, enter the client password in the Password field.
16. When all details have been completed, click the Save icon.


17. The Search Sources > Detail screen will display. Click the Test button to test the connection if you wish.

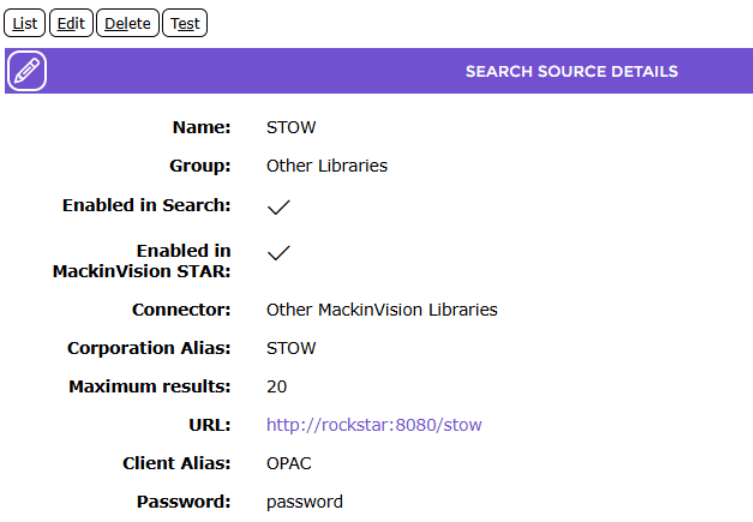
18. If a message displays stating “Failed to query the Search Source: RuntimeException” click the Edit button, correct the incorrect detail, for example an incorrectly entered URL, then click the Save button. In the Detail screen, click the Test button again. The message should indicate that the query is correct.
19. Click the List button to return to the Search Sources > List screen. The new Search Source will be included in the screen.
Note: A red Cross icon in the Enabled column in the List screen indicates the checkbox next to Enabled in the Search Source Add/Edit screen is not activated so the source will need to be selected to search on in the Search interface screen.
20. The library’s catalog will be searched when a search term is entered in the Search interface and the Change Search Sources link is clicked


Was this article helpful?
That’s Great!
Thank you for your feedback
Sorry! We couldn't be helpful
Thank you for your feedback
Feedback sent
We appreciate your effort and will try to fix the article