Summary
Selecting a BibType is the first step, and a mandatory element, when creating a resource record. BibTypes determine the fields that are available for completion on a record.
This guide provides a brief overview of the role of a BibType on a resource record and the steps required to create a BibType.
Overview
The BibType selected on a resource determines:
- Which fields are available to record the resource details
- The order of the fields in the Add/Edit and Detail screens
- Whether copy records can be attached or not
- Whether Serials functionality is available
- Whether or not attached computer files (File) and websites (URLs) display in the Hover view of a title in the Search interface
- Whether a file can be attached for viewing in the Search interface
- Whether the BibType image is displayed or hidden in the Search interface results List
Create a BibType
One of the BibTypes included in the system can be flagged as the default. The default should be the BibType that cataloging staff would select on the larger percentage of resource types being added to the catalog. If, for example, staff catalog more files than any other type of material, select the corresponding BibType as the default. This significantly reduces the step of choosing a BibType (which is a mandatory requirement) when creating records.
1. Navigate to Cataloging > BibType and either click the New icon, type ne or select New from the Function menu.
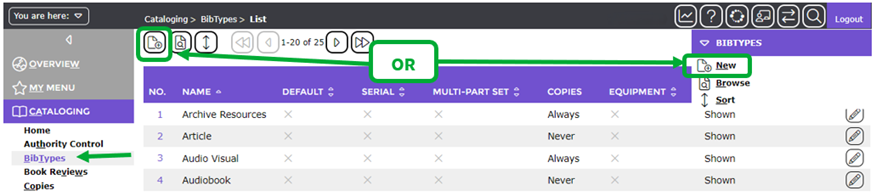
2. The BibTypes Details screen will display.
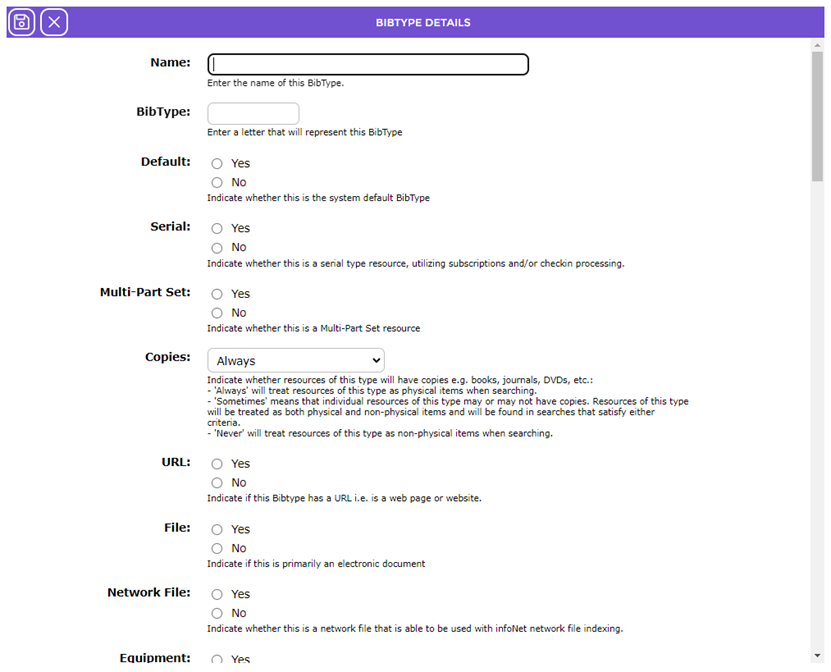
3. Enter the name of the BibType in the Name field and enter a letter that represents the type in the BibType field.
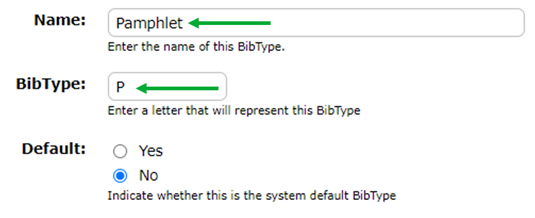
Most of the remaining fields contain Yes and No radio buttons. Help information below the radio buttons explains the purpose of those fields.
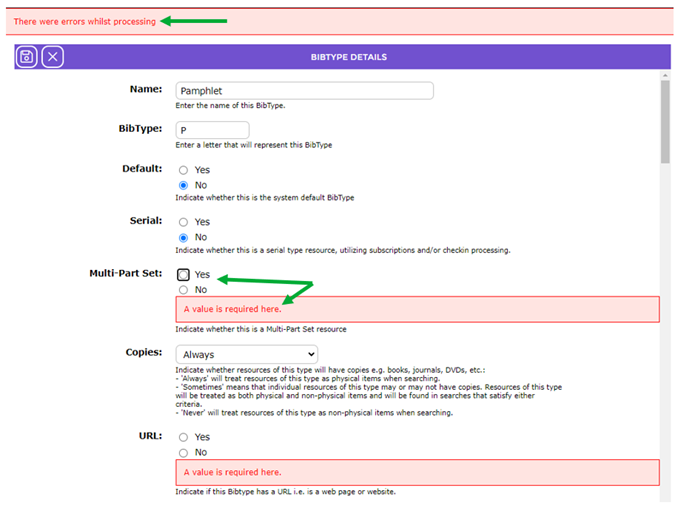
4. Click in either the Yes or No radio button as required in all the fields.
5. If neither a Yes nor a No radio button is clicked in for any of the fields in the screen, a message, in red text, will display at the top of the screen and below the applicable field/s indicating a value must be selected.
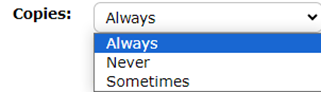
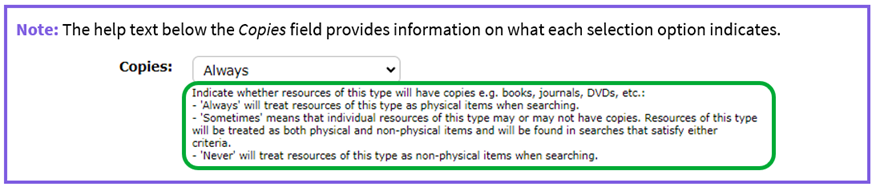
6. The Copies field includes a drop-down field with three options. By default, Always is selected on entry to the screen. The selected option can be changed as required.
7. The Hidden in Search field contains three options. Generally, the option of Hidden would only be selected if resources with this BibType were not to be included in the search results in the Search interface.

8. Click on the down arrow at the end of the Resource Type field and click on the applicable default Resource Type for the BibType.

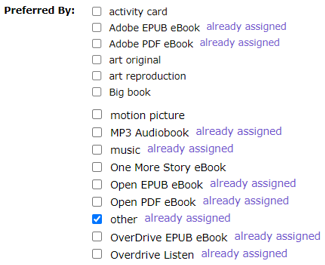
9. Click in the checkbox next to the applicable Preferred By option, for example, text.
10. When all fields have been completed click the Save icon. 
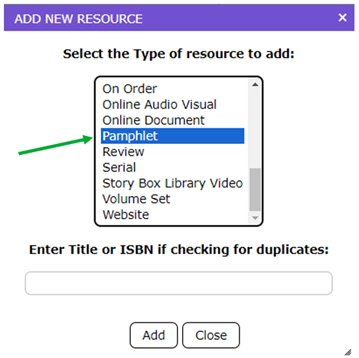
The newly created BibType will now be available for selection in the Add a new resource popup screen when adding new resources to the catalog.
Was this article helpful?
That’s Great!
Thank you for your feedback
Sorry! We couldn't be helpful
Thank you for your feedback
Feedback sent
We appreciate your effort and will try to fix the article