Summary
For those weeded records that are no longer required to be stored, a Purge All process can be run to permanently delete them from the database.
This guide will provide the steps required to complete purge all weeded resources.
Purge a Weeded Resource Record
- Navigate to Cataloging > Weeded.
- If the Weeded Resources Search screen displays, click on the Browse icon.
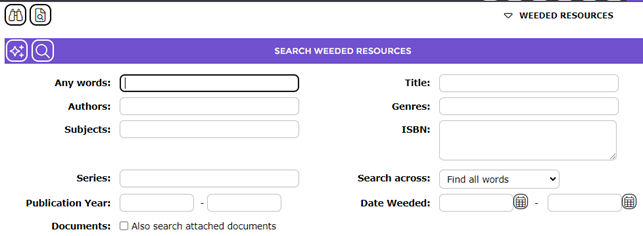
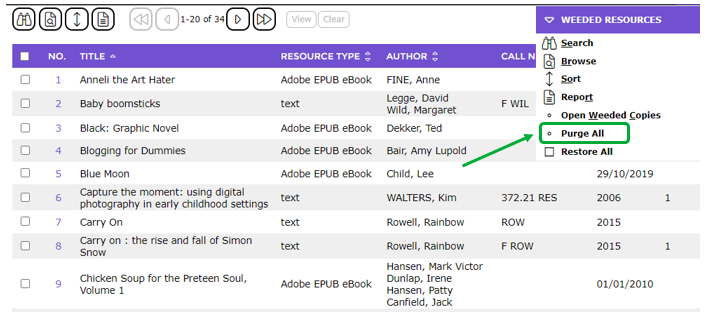
- The Weed Resources List screen will display.
- From the Function menu click on Purge All.
- The Purge Resource Archive popup screen will display.
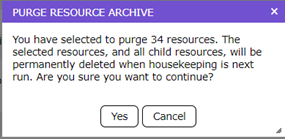
- Click Yes.
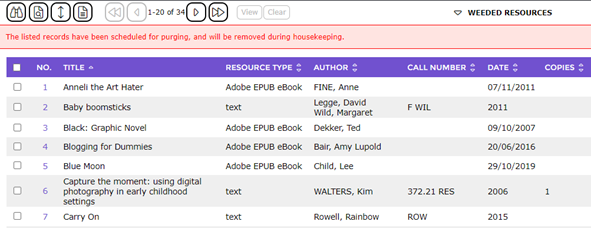
- The List screen will refresh to include a message stating, “The listed records have been scheduled for purging, and will be removed during housekeeping”.
Related Housekeeping Option
The related housekeeping option can be set for automatic inclusion in the nightly housekeeping run.
- Navigate to System > Housekeeping.
- Scroll down to Purge Entities.
- The area next to Purge Entities in the Housekeeping Details screen should display a check. If it does, the process to purge will run during the scheduled Housekeeping time.
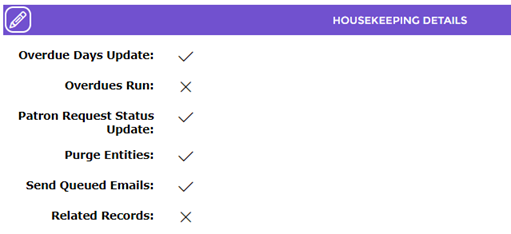
4. If the area next to Purge Entities has an ‘X’, click the Edit button.
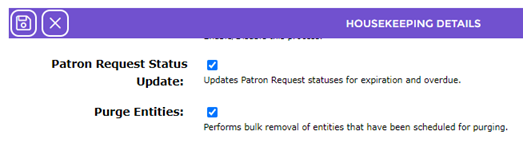
5. Click in the checkbox next to Purge Entities and click Save.
Was this article helpful?
That’s Great!
Thank you for your feedback
Sorry! We couldn't be helpful
Thank you for your feedback
Feedback sent
We appreciate your effort and will try to fix the article