Summary
There may be instances where an item is to be booked on the same day, for the same time period, for a number of weeks. This can be done using the Recurring Reservations option under Circulation in the library Management screen.
This guide will provide the steps required to create a recurring reservation. Separate guides provide the steps required to create a simple reservation, edit a reservation, and an explanation of the different views of the Reservation screen.
How to Create a Recurring Reservation
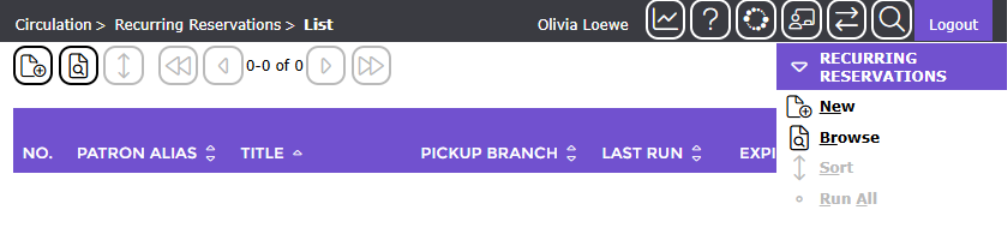
1. Navigate to Circulation > Recurring Reservations.
2. Click on the New icon (or click on New from the Function menu or type ne).



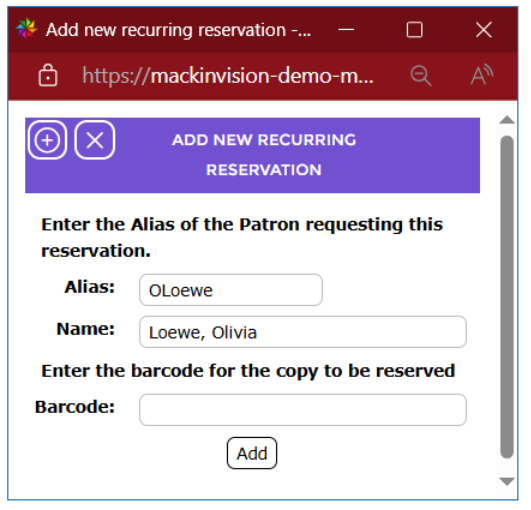
3. In the Create Recurring Reservation popup screen, scan or manually enter the patron’s barcode in the Alias field. If you are manually entering a barcode, enter the first few numbers and click on the patron required from the prediction list. The patron’s name will be displayed in the Name field.

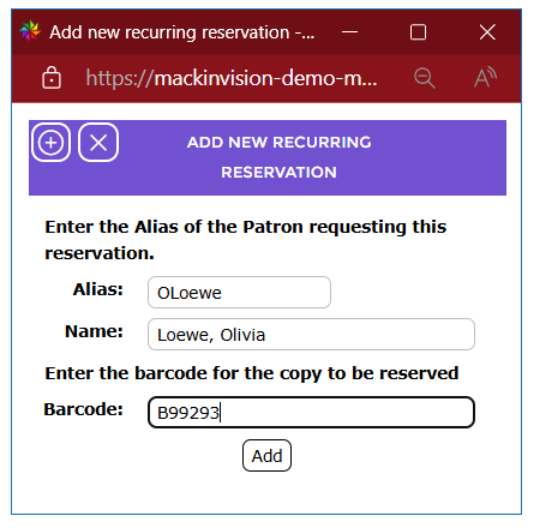
4. Scan, or manually enter the item barcode, in the Barcode field then click the Add icon or Add button.



The Recurring Reservation > Add screen will display.
The Title and Patron fields will automatically populate based on the alias and barcode entered in the previous field. The Pickup Branch field is populated based on the patron’s branch.

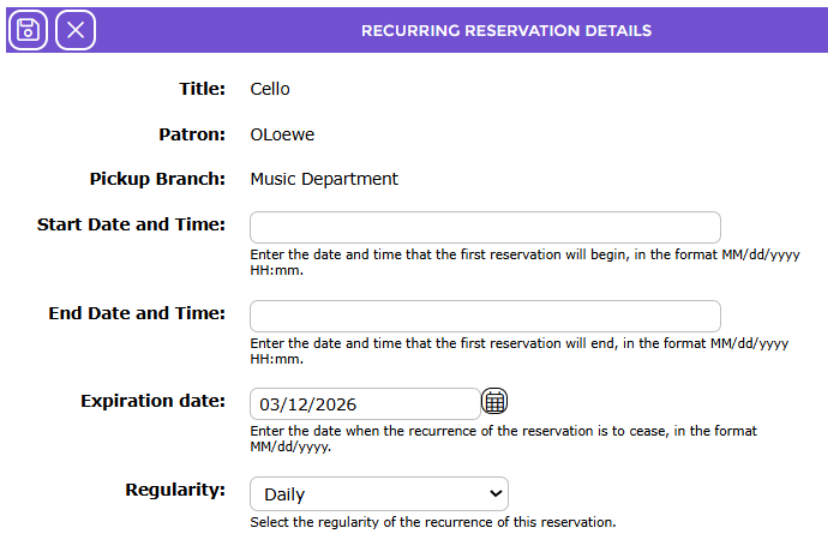
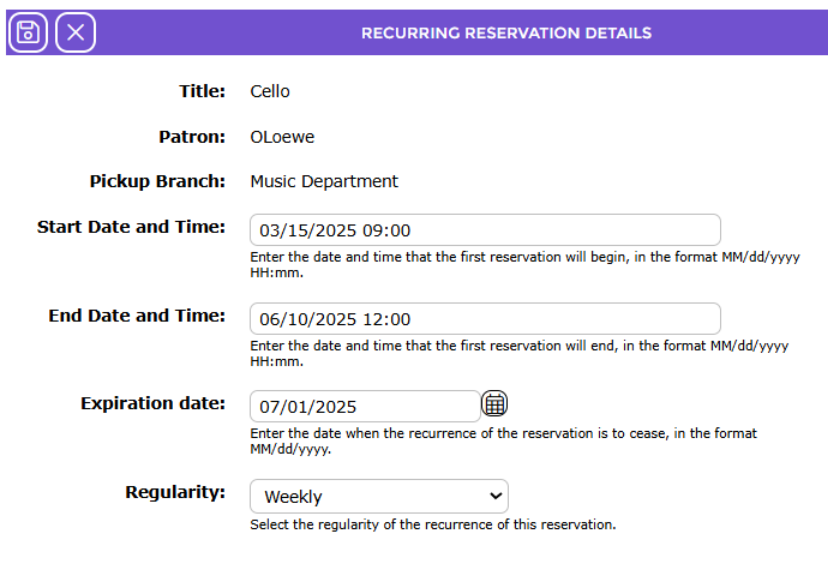
5. In the Start Date and Time field enter the applicable information in the MM/dd/yy HH:mm format, for example 03/15/2025 09:00.
6. In the End Date and Time field, enter the applicable information in the MM/dd/yy HH:mm format, for example 06/10/2025 12:00.
7. In the Expiration Date field, enter the date the recurring reservation will expire, for example, 07/01/2025. You can select a date by clicking on the Calendar icon if preferred. Note that by default ‘today’s’ date displays in this field.
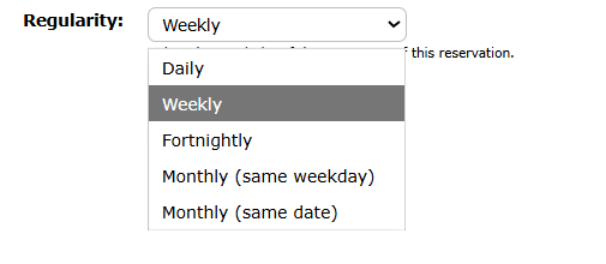
8. By default, Daily displays in the Regularity field. To change the selection in the Regularity field, click on the down arrow at the end of the field and select, for example, Weekly.

9. When all details have been completed, click the Save button.

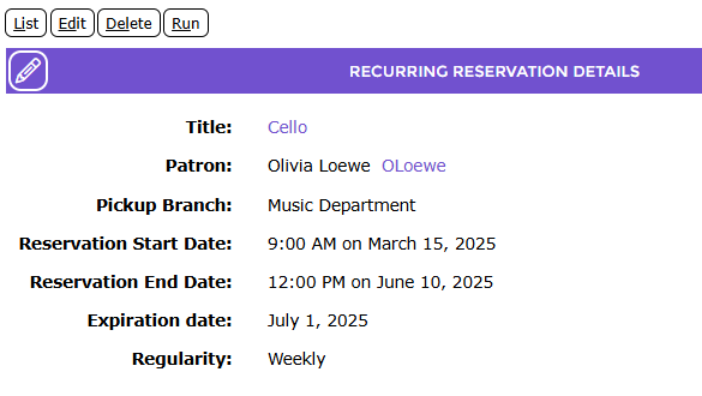
The Recurring Reservations > Detail screen will display.
10. Click the Run button to process the newly created recurring reservation. This will create the reservation for each applicable date based on the dates entered in the Recurring Reservation Add screen.

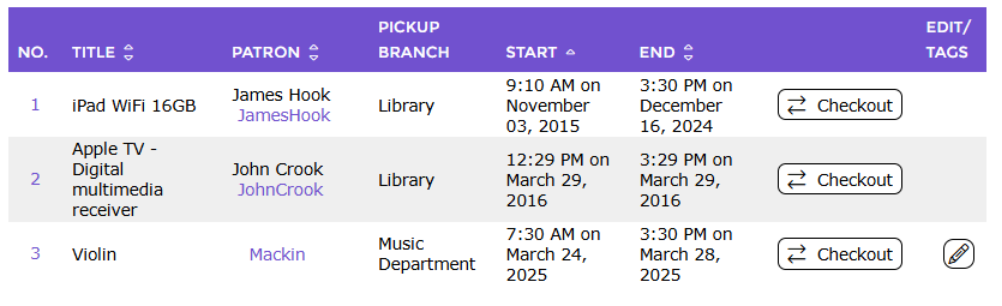
The Recurring Reservations screen will refresh and list all the dates that apply to the recurring reservation created for the resource.
The reservations will be displayed in the Circulation > Reservations > List screen.
Was this article helpful?
That’s Great!
Thank you for your feedback
Sorry! We couldn't be helpful
Thank you for your feedback
Feedback sent
We appreciate your effort and will try to fix the article