This guide explains how to use Collections in MackinVision v5 to genrefy your library.
Genrefication is the process or idea of classifying music, film, literature, or other such mediums into specific genres or categories. (Urban Dictionary, 2008)
What will you call your new Collections?
The first step of the genrefication process is to decide what you are going to call your new genre-based Collections. It is the Collection that dictates the physical location of where the resource can be found.
Read the document ‘Genre Headings’ for a suggested list of genres. You may wish to name your Collections the same as your genres. Alternately you might like to use several genres when forming a Collection. For example, you might have a ‘Fantasy and Science Fiction’ collection that is made up of books from both the Fantasy genre and the Science Fiction genre.
The naming structure you use will depend on whether you are a single branch or a multi branch school. Below are a few suggestions for naming your Collections:
- Single Branch
- F - Adventure Stories
- Adventure Stories
- Multi Branch
- SF – Adventure Stories
- JF – Adventure Stories
Create your new Collections
Now that you have decided on the naming structure of your Collections you should navigate to Management > Collections to create your new Collections.
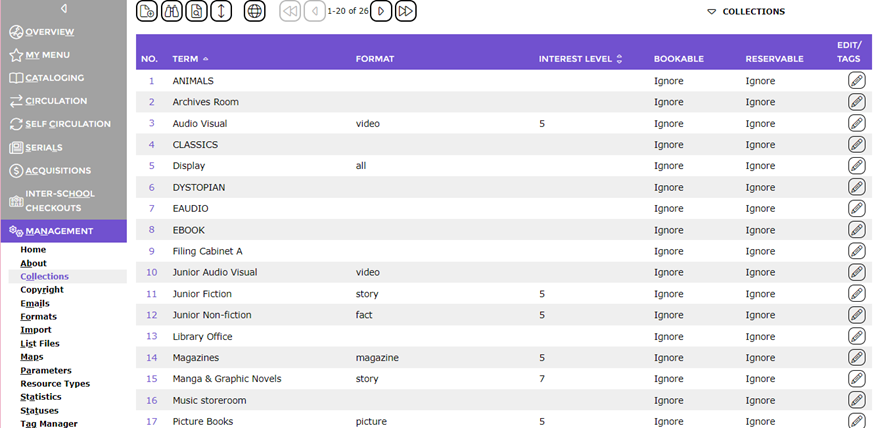
For assistance refer to the following documents in MackinVision Help:
- How to Create and Edit a Collection
- How to select a Format on Collections
Add resources to your new Collections
There are several options for adding resources to your new Collections. The method you choose will depend on whether you are going to:
- Search for the resources in the catalog and then update the catalog record
- Scan the barcode of the physical resource and then update the catalog record
Option 1: Search in the catalog for a resource
- Navigate to Cataloging > Resources
- Search by Genre. You may also need to search by Branch, Collection, Bibliographic Type or Resource Type.
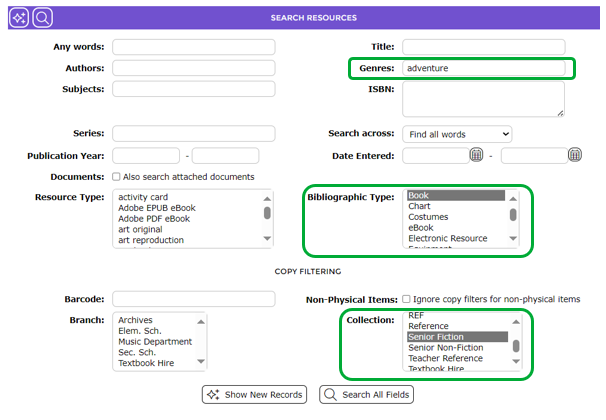
3. If required, filter the results using the check boxes on the left hand side and then click the View button to see your final result.
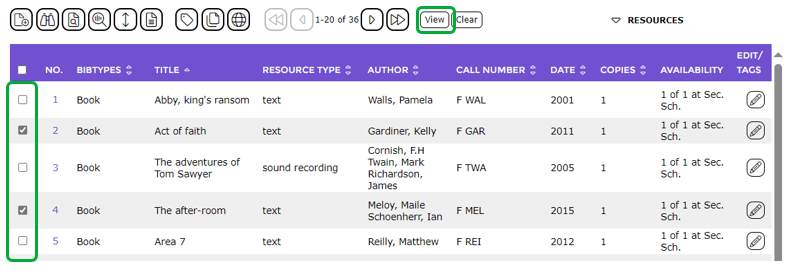
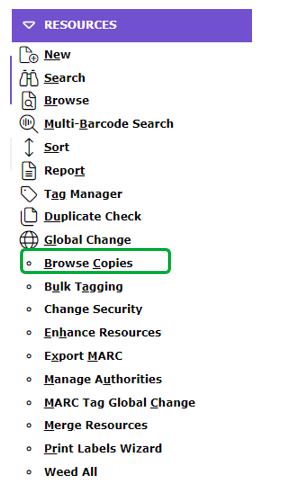
4. Select Browse Copies via the drop down Resources menu on the right hand side.
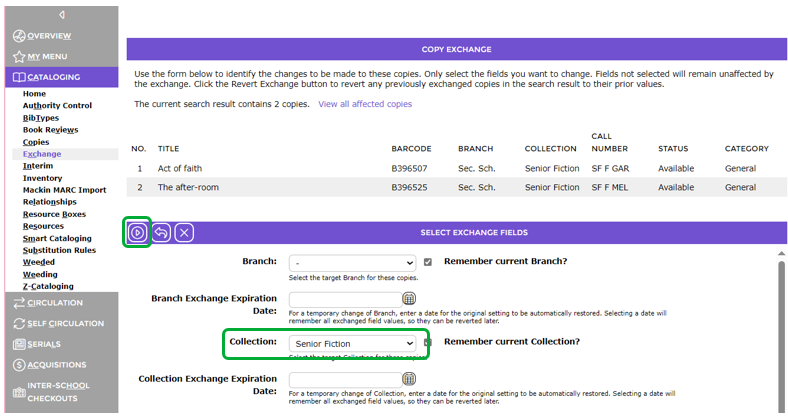
5. Once you have a list of copies, select Cataloging > Exchange and then select the name of your new Collection from the drop down menu.
6. Click the Start button to begin the exchange process.
Option 2: Scan the barcode of the physical resource
- Navigate to Cataloging > Resources
- Select Multi-Barcode Search from the drop down menu on the right hand side.
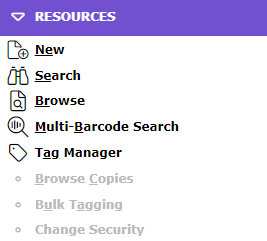
3. Scan the barcodes and click Search
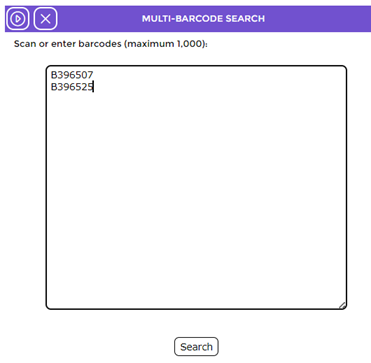
4. Select Browse Copies via the drop down menu on the right hand side.
5. Once you have a list of copies, select Cataloging > Exchange and then select the name of your new Collection from the drop down menu
6. Click the Start button to begin the exchange process. 
Viewing your new Collections in Search
- The new Collection information can be found by searching for a resource and clicking on the resource to see more details. From there you click on ‘see all copies and locations’.
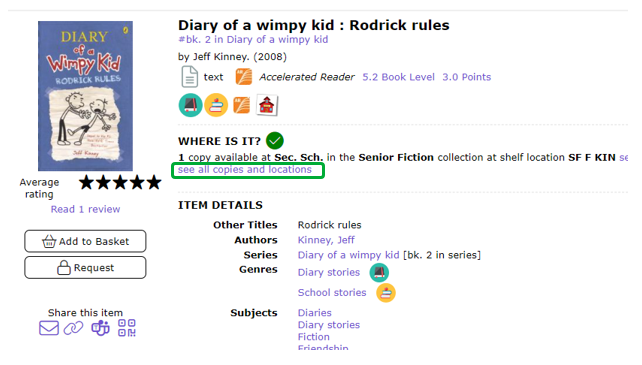
The Collection column provides details of new created Collection. In this instance the Collections were called:
- (Senior Fiction)
- The Call Number column provides details of what will be found on the spine label of the book. In this instance the Call Number details are:
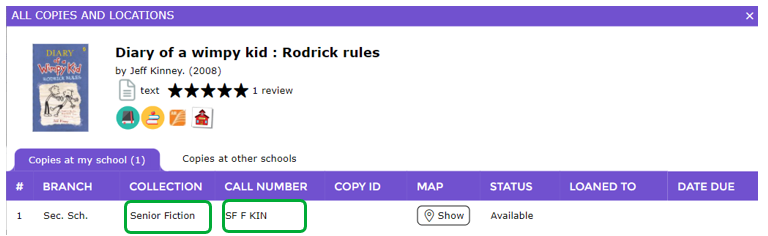
- SF = Collection code (Senior Fiction)
- KIN = first three letters of authors last name
Was this article helpful?
That’s Great!
Thank you for your feedback
Sorry! We couldn't be helpful
Thank you for your feedback
Feedback sent
We appreciate your effort and will try to fix the article