Summary
The process to purge checkout history is quite easy. Be aware that once the checkout history records have been purged they cannot be retrieved without loading the last backup of your data before the process was undertaken.
This guide will provide the steps required to purge your patrons’ checkout history.
Complete a Purge Checkout History Process
1. Navigate to System > Purge Checkout History.
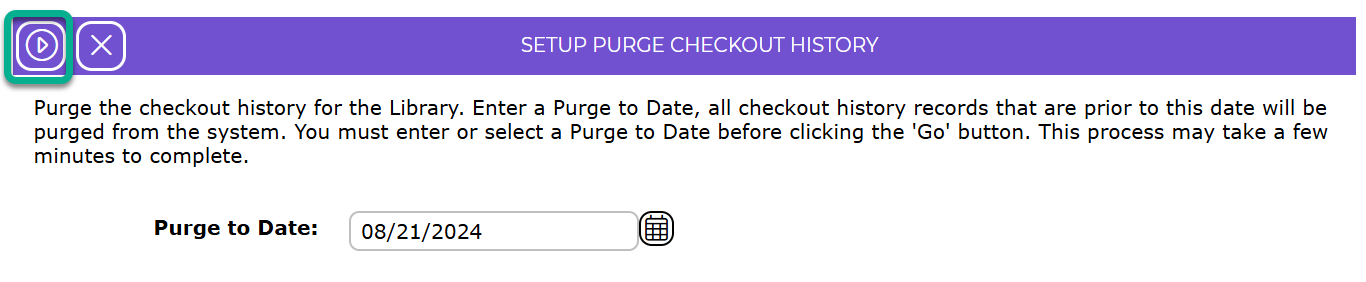
2. Enter the Purge to Date, either manually or with the Calendar icon, to select the date up to which any checkout history is to be purged.
3. Click the Go button.
The Confirm Purge Checkout History screen will display. It includes the number of checkout history records that will be purged by this process (prior to the date selected.

4. If the number of records appears to be incorrect, for example, there are too many or too few records, click the Cancel button to return to the Purge Checkout History screen and check that the correct date was entered.
5. Edit the date if required and click the Go button to return to the Confirm Purch Checkout History screen.
6. If the number appears to be correct, click the Confirm button.
A Purging... progress message will display.
Once the purging process has completed, a message will be displayed indicating the records have been successfully deleted.
Was this article helpful?
That’s Great!
Thank you for your feedback
Sorry! We couldn't be helpful
Thank you for your feedback
Feedback sent
We appreciate your effort and will try to fix the article