How to setup LearnPath
A registration key has been provided to you that will activate LearnPath. Once you have activated your new registration key you can access LearnPath by clicking on the News link.


Creating your first guide
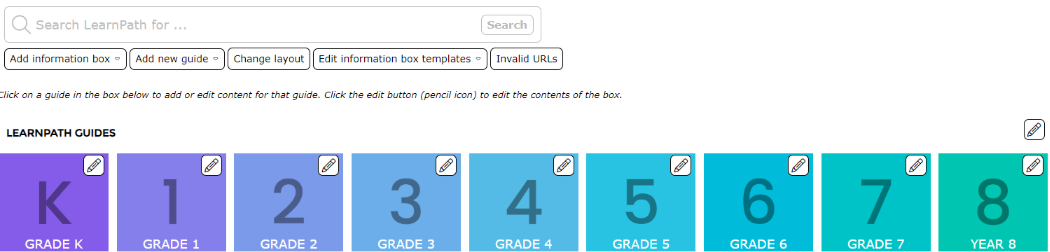
The LearnPath activation process generated a LEARNPATH GUIDES list menu information box in the top left corner of your News page.
NOTE: You can hide this navigation box while structuring and developing your guides. See point 7 of ‘Editing the LEARNPATH GUIDES information box’ regarding how to do this.
Once set up, this LEARNPATH GUIDES list menu information box will display links to your guides.
When first accessed this will be empty.
- Click the Add and edit guides button.
- Click the Add a new guide at the menu top level link.



3. Enter the Guide name, then click the Save button.


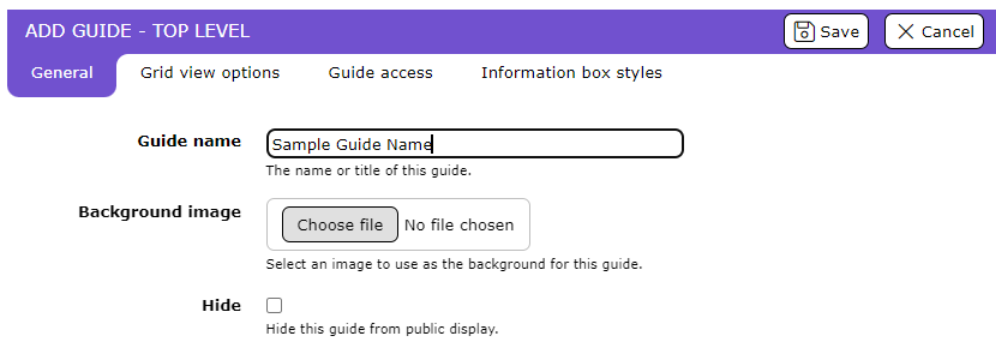
The Guide name is displayed at the top of the screen and also underneath the Add Information box button.

4. At this stage you have created a top level guide. You can now populate your guide with information boxes to house your content, links and resources.
See ‘Populating your guides’ for more information.
Adding more guides
- Click the Add new guide button to add another guide.
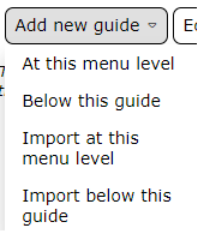
2. Guides can be added ‘At this menu level’ or ‘Below this guide’ (i.e. a sub-guide). The process for naming the guide is the same process as when the Add a new guide at the menu top level link was selected.
3. You will be able to structure and create an unlimited number of guides.
An example of a four level structure is provided below – Year 7, History, Ancient Egypt, Extension Activities.
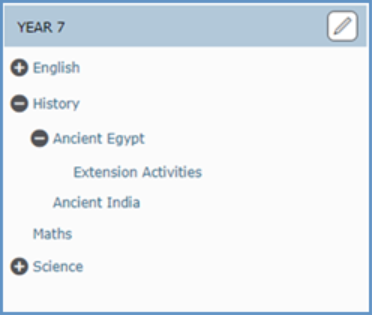
4. Click the Edit this guide button to change the layout, rename or delete a guide.
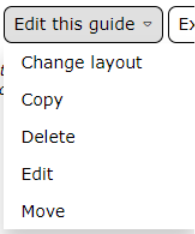
Change layout – allows for information boxes on the current Guide to be resized and/or re-positioned.
Edit – change the Guide name or Hide the guide. Hidden guides can only be seen by authorized staff and can be “un-hidden” whenever required.
Delete – only displayed if there are no guides below the current guide. In the previous example, the Ancient Egypt guide could not be deleted unless the Extension Activities guide was removed first.
Navigating between guides
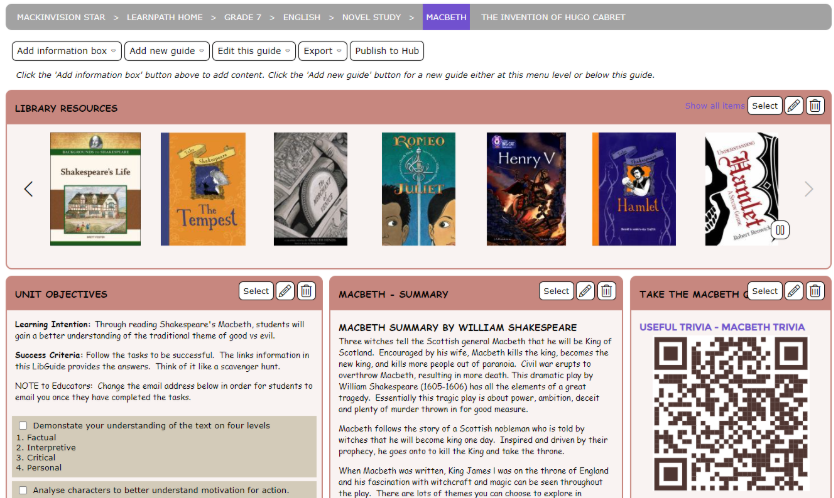
You can navigate through the various guides via the bread crumb trail across the top or the menu information box.
Navigating using the bread crumb trail across the top
In the top navigation bar, all guides listed after the greater than symbol (>) are below the guide displayed immediately before it.
In this example Novel Story, MacBeth and The Invention of Hugo Cabret are guides below the English guide.

If you click on the guide (e.g. English)  at the top of the screen the guides below will be shown in the menu information box on the left. If you move over the downward arrow in the navigation bar at the top of the screen, the guides below will be displayed in a dropdown menu box beneath the navigation bar.

The downward facing arrows are pointing to guides at lower levels. If there is no downward facing arrow (e.g. Books & Reading) it means that no guides have been created below that level.
Clicking on the guide name (e.g. Macbeth) will display the guide.
Populating your guides
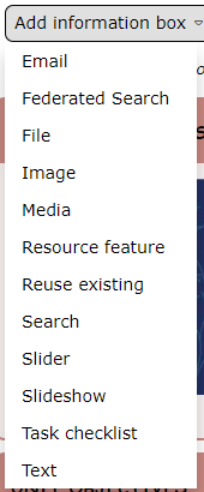
Click the Add Information box button to add information boxes and populate your guide.
A recorded webinar on How to set up Information Boxes is available from https://www.softlinkint.com/resource-details/how-to-setup-information-boxes.
Editing the LEARNPATH GUIDES information box


When  icon is selected from the LEARNPATH GUIDES list menu information box, the following changes can be made:
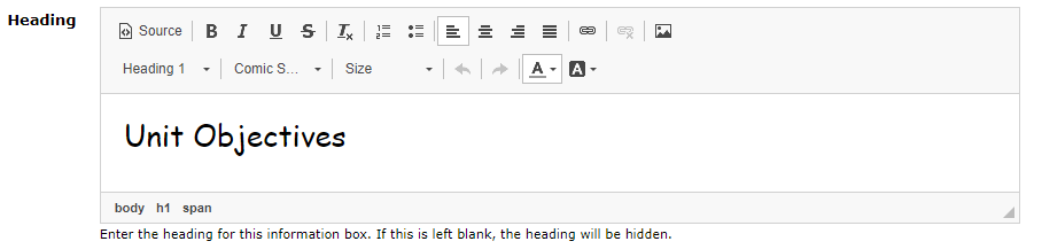
The name or heading you give your LearnPath system can be changed including the font size, style and color.
The background color of the name or heading can be changed.
TIP: Un-check the Use theme-specified color checkbox before selecting a new color.

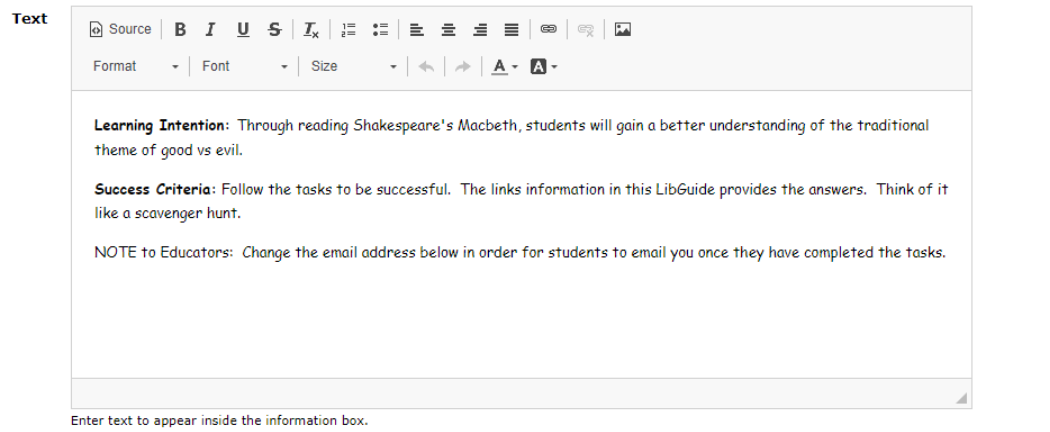
Additional text can be added using the text box. This will be displayed under the name or heading.
The background color of the LEARNPATH GUIDES list menu information box can be changed.
TIP: Un-check the Use theme-specified color checkbox before selecting a new color.

The order of links to guides can be adjusted, using drag and drop.
Links to guides can be hidden (e.g. different topics displayed for different times of the academic year). Used = shown; Unused = hidden.
The whole LEARNPATH GUIDES list menu information box can be hidden (e.g. if you are developing your content). If the Hide checkbox is ticked, the LEARNPATH GUIDES list menu information box will only be visible by staff with access to editing information boxes.

Was this article helpful?
That’s Great!
Thank you for your feedback
Sorry! We couldn't be helpful
Thank you for your feedback
Feedback sent
We appreciate your effort and will try to fix the article