Summary
Rich text formatting (RTF) options in the Heading and Text fields can be used to enhance or add impact to the text that will display in information boxes on the library Home screen.
This guide will provide the steps required to enhance text in the Text box section in the Information Box Edit screen using some of the RTF options. The same process is also used to enhance the text in the Heading field box.
Rich Text Format (RTF) Options in the Information Box Edit Screen
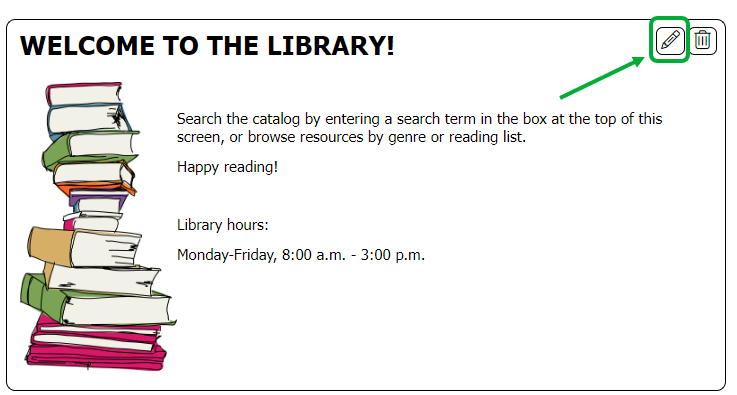
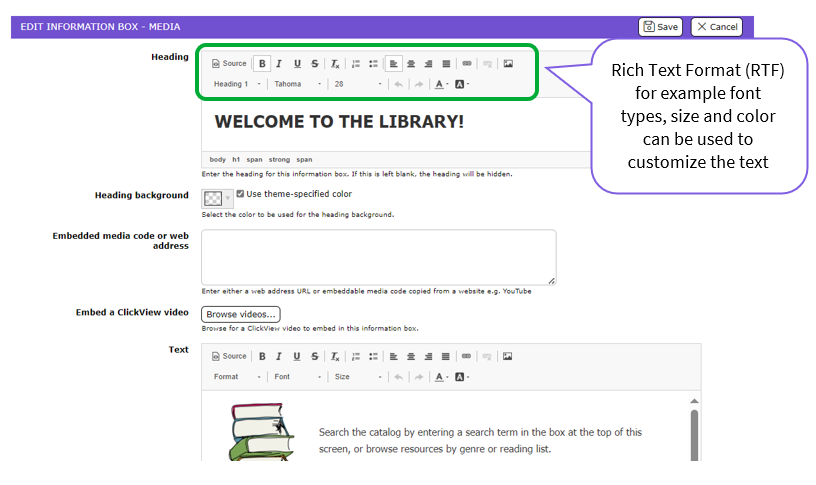
The Heading and Text field sections, in the information box Edit screen, include RTF options, which are located at the top section of the “field”. The options enable you to change the font style, size and color. You can also change the paragraph layout, or use dot points or numbering to display the text in the information box on the home screen.

Down facing arrows at the end of options and fields indicate that, when clicked, a number of selections become available from which to choose. Clicking on the dot point and numbering icons will also provide a list of options from which to choose.
Format the Text in the Heading Section
The text can be formatted when creating a new information box. You can also edit text in existing information boxes. The following example steps will show you how to change the font type and the color of text in the Heading and Text fields of an existing information box in the Edit screen.
- In the library Home screen, click on the Edit icon at the top right hand corner of the information box containing text that is to be formatted.
- In the Edit screen locate the Heading textbox and highlight the text. If the Heading field is blank, type in the text you want and then highlight it. Remember, the heading field is not mandatory to complete so you may not have entered a heading when you originally created the information box.
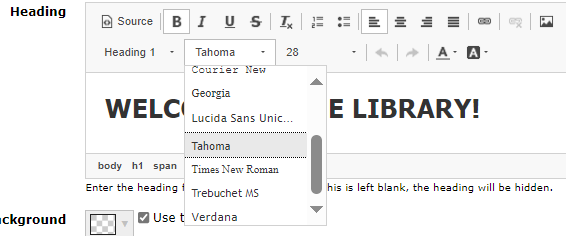
- Click on the down arrow at the end of the font type field and click on the font you would like to use, for example, Tahoma.
- The font type will now display in the field and the text will have changed to that font type. Note that the text remains highlighted.
- Now click on the down arrow at the side of the underlined A in the RTF tools area and a color “chart” will display.
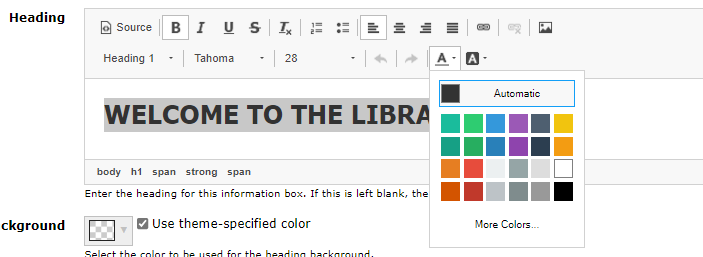
- Click on the little color square you would like the text to display in, for example, red.
- If the default colors that display do not contain the one you think you would like you can click the More colors… option at the bottom of the chart to display additional color selections.
- The Select color popup box will display.
- Hover over the color in the box that you would like. The Highlight square will provide a color sample
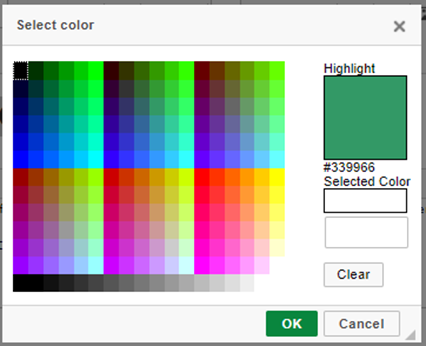
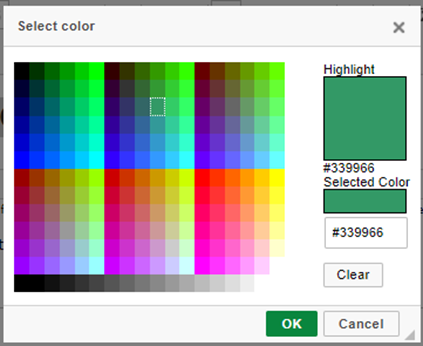
10. If that is the color you want click on the color in the main Select color box and the color will also display in the Selected Color field (the ascii code will display in the field below it) and click the OK button.
- Click in the text box and the text now displays in the color you selected.
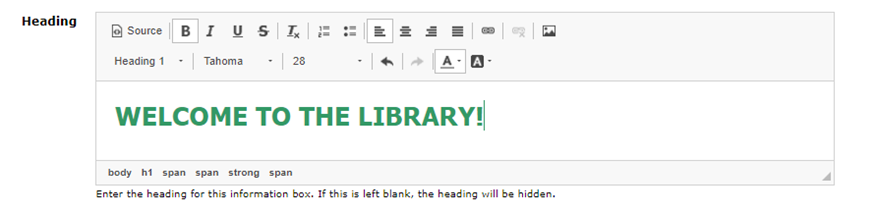
- If you want to bold the text, highlighted it then click the B option.

- The text now displays in bold.
Format the Text in the Text Section
- Ensure the text in the Text textbox is highlighted.
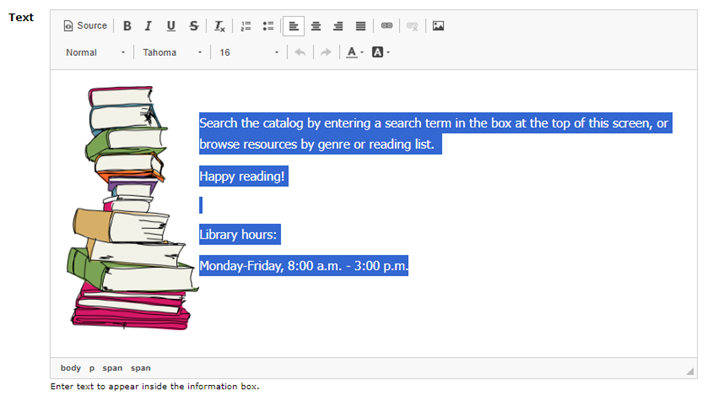
- Repeat steps 3-8 used in the above Format Text in the Heading Field section. You can use different fonts and colors from those used in the Heading section if you wish.
- The text will display in the font type and color you selected.
- When the formatting has been completed click on the Save icon in the top right hand corner of the screen.
- You will be returned to the library Home screen. The text in the information box will now display in the font type and color you selected.
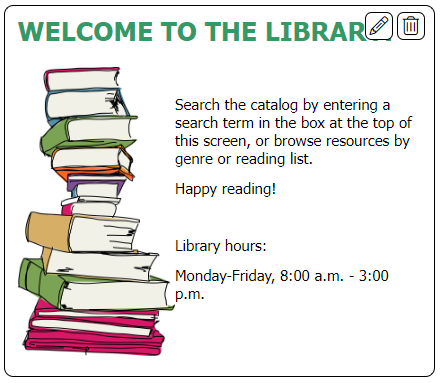
If the text is not as you require click the information box’s Edit link to return to the Edit screen, change the selections as required then click the Save button again.
Was this article helpful?
That’s Great!
Thank you for your feedback
Sorry! We couldn't be helpful
Thank you for your feedback
Feedback sent
We appreciate your effort and will try to fix the article